The 6-Step Pickleball Warm Up Routine From a Top 10 Pro (15 Minutes Flat)
Most players show up to the court, tap a few balls back and forth, and consider themselves warmed up. Then the match starts and the first three games feel like a complete mess — contact point off, footwork nonexistent, shots going nowhere near intended. Sound familiar? That is not a skill problem. That is a preparation problem.
This routine comes from Connor Garnett, one of the top 10 ranked pickleball players in the world. It takes 15 minutes and it genuinely fixes the cold-start problem that plagues recreational players at every level. Let’s get into it.
Why Your Pickleball Warm Up Actually Matters More Than You Think
Pickleball looks deceptively low-impact from the outside. People see a small court, a wiffle-like ball, and paddles that look like oversized ping pong equipment. Easy, right? Not quite. Your hips, shoulders, and core all need to be properly loose before you start rotating at full speed on every shot. The rotational demands of pickleball are real, and if your body is not ready for them, you are either going to underperform or get hurt — sometimes both.
More importantly, your mind needs reps before a match starts. If you spend the first five points figuring out where your contact point is, you have already handed your opponent free points. The entire purpose of a structured pickleball warm up is to get your shots consistent before the scoreboard turns on. Nothing more complicated than that.
The players who start matches sharp are the ones who warmed up like the match already mattered. That is the standard Connor sets, and it is one any player can reach with a bit of intentionality before stepping on the court.
For Players New to Pickleball: What You Need to Know Before Reading On
If you are relatively new to pickleball, here is some context that will make the rest of this article make a lot more sense.
Pickleball is played on a court roughly a quarter the size of a tennis court, with a low net in the middle. There is a zone near the net called the kitchen — technically called the non-volley zone — and most of the strategic action in a rally happens right there. The dink is a soft, arcing shot played from near the kitchen line, designed to land just over the net and keep the ball low so your opponent cannot attack it. The third shot drop is a shot hit from the back of the court after the serve and return, intended to arc softly into the kitchen and allow you to move up toward the net. Volleys are shots hit before the ball bounces, and hands battles are fast exchanges at the net where both sides are volleying rapidly at close range.
Understanding those terms will help you get real value from this routine, because each step is built around a specific part of the game. The warm up Connor uses is not random. It mirrors the actual sequence of shots you will face in a real match, starting slow and building toward match speed and complexity.
Step 1: Get Your Body Loose Before You Touch a Paddle (2 Minutes)
Every good pickleball warm up starts before the paddle even comes out of the bag. Do a few easy laps around the court to get your heart rate up slightly and your blood moving. Then move into active stretching — not static holds where you freeze in place, but dynamic movements that take your joints through their full range of motion.
Focus specifically on your torso. Almost all the power you generate in pickleball comes from body rotation, not from your arm. If your hips are tight and your core is stiff, your shots will be weak and you will be compensating in ways that lead to common pickleball injuries like elbow strain and pulled muscles. Hip circles, trunk rotations, and shoulder rolls are your best tools here.
This phase takes about two minutes and it is non-negotiable. Do not skip it because you feel fine standing still. You probably feel fine right up until you lunge hard for a wide ball and something in your hip or lower back tells you otherwise. Two minutes of active stretching before you pick up a paddle is one of the simplest injury-prevention habits in the sport.
Step 2: Straight-Ahead Dinks to Find Your Foundation (2 Minutes)
Once you are loose, grab your paddle and start dinking directly across the net. Not crosscourt yet. Just straight ahead, cooperative, back and forth. Simple as it sounds, this phase has a very specific purpose and it is not just to warm up your arm.
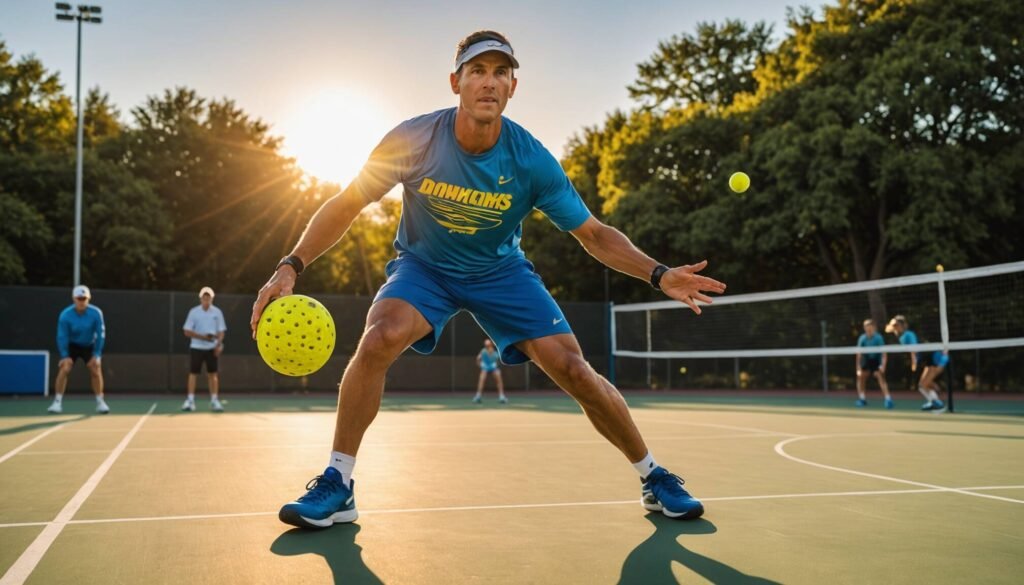
The real goal here is to get your feet moving and your legs low the way they need to be throughout an actual match. Most players warm up standing upright and wondering why the match feels physically different the moment they have to move. The answer is usually that they never actually practiced the athletic position during their warm up.
As you dink straight ahead, focus on these mechanics:
- Line the ball up with your back leg before making contact
- Stay low and get your body behind the ball, not reaching out to the side for it
- Keep your contact point consistent from shot to shot rather than letting it wander
- Avoid overextending on either side
Your contact point should sit in front of your body, inside your natural reach, never off to the side or behind you. When that contact point is consistent, your pickleball dink becomes reliable. When it wanders, everything starts to break down. Two focused minutes of straight-ahead dinking does more for your match readiness than ten minutes of aimless hitting.
Step 3: Crosscourt Dinks on Both Sides (4 Minutes Total)
Now you shift to crosscourt dinking, which is far closer to what you will actually face in a real match. Most rallies at the kitchen line involve crosscourt exchanges because the diagonal gives players the most margin over the net and the most court to work with.
Start safe and find your target before you start expanding your range. Once you have a feel for the basic exchange, start mixing in wide dinks that pull your partner off the court and tighter dinks that land near the centerline. You are building your full range of dink placement here, and you want to know where your limits are before a real point is on the line.
Work on two things specifically during this phase:
- Pace consistency: Keep the speed of the ball similar from shot to shot. This trains your feel and helps you dial in your touch rather than hitting randomly.
- Distance control: Mix in some shallow dinks and some deeper ones. Knowing where your range starts and ends before a match is far more valuable than discovering it during a critical game.
Switch sides after two minutes. If you typically play the left side, practice feeding your partner cooperative dinks they can work with. If you play the right side, focus on handling both the easy sitter and the dink that moves you around the court. Give both sides equal attention. Understanding why dinks pop up in games will help you know exactly what patterns to rehearse during this phase.
Step 4: Third Shot Drops and Drives From the Baseline (4 Minutes)
This is where most recreational players waste their warm up. They either bang drives as hard as they possibly can — which tells them nothing useful — or they chase the textbook-perfect drop with so much tension that the shot becomes unnatural. Neither approach prepares you for anything that will happen in a real match.
Start with third shot drops at a controlled pace. Your job is not just to hit the shot — it is to watch what your partner has to do with the ball after you hit it. If they have to hit upward on it, your drop was effective and you could have moved forward to the kitchen. If they can hit down on it, your drop was too high and you would need to stay back. That read — understanding whether your drop gives you an offensive opportunity on the next shot — is the real skill you are building during this phase.
Once you have some feel for the drop, mix in drives at 60 to 70 percent of your full power. You are not trying to hit winners during warm up. You are learning the arc of the ball and understanding where it peaks in relation to the net. A ball that is still descending when it crosses the net forces your opponent to hit upward, which gives you the advantage. A ball that peaks before the net is easier to attack. Improving your drive starts with understanding that distinction.
Placement beats power in this phase. Always. There is no fixed number of drops you should hit — stay on them until you find your range and start feeling what “good” looks like. If you miss several in a row, spend more time on it. If you nail three or four in a row, move on. The warm up should respond to how you are actually hitting, not follow a rigid script. If you keep missing your third shot drop, that is important information. Spend more time on it today rather than hoping it magically clicks once the score starts.
Step 5: Reflex Volleys at the Kitchen Line (2 Minutes)
This is the step most players skip entirely. It is also probably the most important step of the entire routine, especially as you move up in level and hands battles become a regular part of play.
Stand at the kitchen line with your partner and volley back and forth at a moderate pace, keeping the ball at roughly chest height. The initial goal is not speed — it is to build a consistent contact point on volleys and start training your reflexes for the pace of a real hands exchange.
Two mechanics matter most here:
- Keep your elbows in: When your elbows flare out away from your body, your contact point becomes inconsistent and you lose both power and control simultaneously. Elbows in means a more compact, reliable stroke.
- Stay grounded: Do a small split step right as your partner makes contact with the ball. Rising up on your toes or standing tall between shots makes your volleys weak and lets your paddle angle wander unpredictably.
Try to string together three, four, five clean shots in a row at a pace that stays controlled. Speed is a byproduct of good mechanics, not something you force. When you do gradually ramp up the pace, you will notice that players who skip this step start swinging wildly the moment the ball accelerates. That reactive breakdown is exactly what you are training yourself out of during these two minutes. Understanding how to win hands battles starts with this kind of reflex training, not with trying to go fast before your mechanics are ready for it.
Step 6: Serve and Return Practice (5 to 10 Each Side)
Finish the pickleball warm up with serves and returns. This sounds obvious, but most players either skip it entirely or rush through it on autopilot. Neither approach helps.
On the serve, start with two or three slower ones to find your feel. Then begin targeting the three primary serve locations: wide, body, and the T, aiming for a landing zone about two steps inside the baseline. That target gives you a high-margin area to work with without sacrificing depth. Once you are comfortable, throw in your spin serve or a loopier delivery if those are part of your regular game. The point is to get comfortable with your full serving range before a point actually matters.
On the return, your primary focus should be depth. The deeper your return lands, the less comfortable your opponent will be when they go to hit their third shot. A deep return compresses the court and gives them less margin for a quality drop. You are also training your kinetic chain during return practice — the sequential transfer of energy from your legs up through your core and out through the paddle. Work on making that transfer smooth and natural rather than just muscling the ball back with your arm. Knowing how to fix return of serve errors starts with repetitions that actually simulate match conditions, not just casual feeding.
Bonus Step: Overhead Warm Up When Conditions Are Tough
If you are playing on a sunny day or in windy conditions, add one extra minute of overhead warm up before your match. Have your partner feed you a few balls above your head and focus on the torso rotation — letting your whole body rotate through the ball rather than just swinging your arm.
This is especially valuable when the sun is sitting directly in your sightline or when wind is affecting ball flight. You want to know where those variables are before an opponent lobs you in a real point and you completely misjudge it. It also gives you and your partner a chance to coordinate lob coverage before the match begins, which matters more than most players realize.
The Full 15-Minute Routine at a Glance
Here is how the complete 15-minute pickleball warm up breaks down so you can run it every single session:
- Active warm up and laps: 2 minutes
- Straight-ahead dinks: 2 minutes
- Crosscourt dinks, both sides: 4 minutes total
- Third shot drops and drives from baseline: 4 minutes
- Reflex volleys at the kitchen line: 2 minutes
- Serve and return: 1 to 2 minutes
The structure is intentional. You start slow, get your body moving, find your contact point, then layer in the shots you will actually use once the match begins. Nothing in this routine is filler. Each phase builds on the last and gets you closer to match-ready before the first point is ever called.
If you want to build real skills on top of this foundation, pairing the routine with structured two-person drills is the natural next step. But even on its own, this warm up will make a noticeable difference in how you start matches. The players who consistently get off to


